If your gate has seen better days, you may need to replace it.
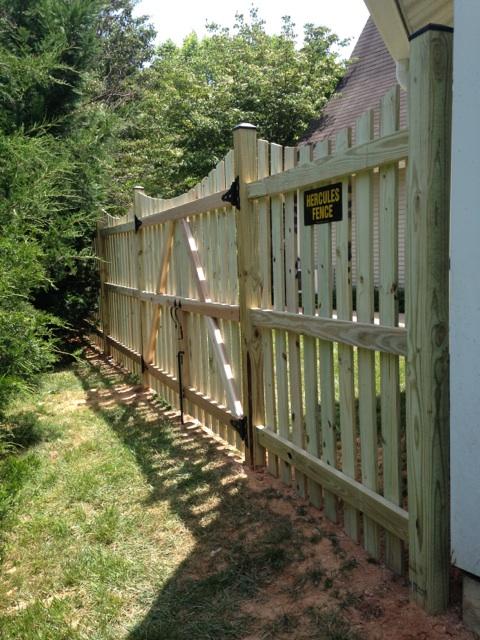
Is your fence gate sagging and dragging through the grass? Did you notice your latches or hinges aren’t holding up while performing seasonal maintenance? Gates that aren’t properly attached to their hinge and latch posts aren’t much use to you (and aren’t much of an obstacle to trespassers). Your gate posts should stand up to countless swings and slams. When they turn loose and creaky, it’s time to repair. Here are tips to help you replace your gate and restore your fence’s usefulness. Don’t feel like going at it alone? Hercules Fence is happy to fix or install your gate before it’s too late.
It Hinges on the Hinge Post
Before you worry about replacing the gate itself, start by removing the hinge post. Remove the gate and put it to the side. Separate the fence section from the hinge post. If your hinge post is just in dirt, dig around every side of the hinge post until the post can be easily wiggled. If your hinge post is set with concrete, dig around the concrete and break it into removable pieces with a sledgehammer until the post can be wiggled easily. Pull out the post.
Prop up the end of the fence section that is now unsupported or have a helper hold it steady. Dig out the hinge post hole until it is 3 feet deep (or fill the hole in until this point). Place the new fence gate hinge post in the hole, ensuring it is level with the latch post. Need to make sure that the gate will properly clear the ground? Hold a level at the same height as the lower hinge to make sure you have proper clearance.
Fix the Fence
Now that you’ve dealt with the hinge post, place a level on the side of the hinge post that faces the gate opening. This side should be vertical on the level. Attach the fence railing to the hinge post with galvanized deck screws and remove the prop (or person) holding up the fence section. It’s worth it to pay special attention to every step of the leveling process to ensure that your gate is properly re-hung.
On the nearest fence post, tack a nail a foot above grade and attach a mason’s line to it, pulling the line past the post’s corner and well beyond the latch post. Tie the mason’s line to a stake so that it is in contact with the latch post. Adjust the hinge post so that it touches the line and make it plumb (the level should show that two adjacent sides are vertical).
Find Your Footing
Before you rehang the gate, strengthen the footing by bracing the hinge post with two 2x4s. Screw the upper end of the studs into opposite sides of the post that is 3 feet above grade. Stake the lower end into the ground approximately 3 feet from the base of the post. Mix two bags of concrete, following the instructions on the package, and fill in around the base of the post. Stop when the concrete is 3-4 inches below grade. Let the concrete cure overnight or according to package directions.
All Done
Now that you’ve done the hard work and patiently waited for the concrete to set, you can finally replace your fence gate! Set the latch post in a 3-foot deep hole on top of 2 inches of tamped gravel. Ensure that it is even with the hinge post and reattach the gate and make sure that the top rail is level and properly clearing the ground. Attach the latch where the bolt of the gate hits the latch post.
Choose Hercules Fence
Whether you’re looking to fix a single post or anentire length of fence, trust the experts at Hercules Fence. For more information and to learn how we can meet your custom fencing needs, contact Hercules Fenceonline or give us a call at 800-395-9597. We will ensure your investment serves your family for years to come! For updates and to see projects we’re working on, visit us onFacebook,Twitter, LinkedIn,YouTube,Google+, andPinterest.